I have been welcomed as a design team member for Digi Box Designs. I was thrilled to be chosen. This was one of my cards I created as part of the acceptance requirements. I chose the adorable Big Eyed Dog image for this project. I LOVE how this card turned out. I colored him using my Spectrum Noir markers and mounted him on this dark pink cardstock. The white offset around the image really makes him pop.
When I downloaded the file, I found that it had an 8.5 x 11 inch box around the image which made it really hard to determine the size I needed to fit my card. So, I had to come up with a work around. This will explain how I was able to correct that issue.
You will need to download Inkscape if you don't already have it in order to accomplish this task. It is a free software program you can find on the internet. Open Inkscape:
Then opened the Big Eyed Dog file. I used the .png image.
(As you can see, the image has a box around it that is much larger than the image itself.) Once it is on your work space, select it and click on Path, Trace Bitmap.
This box will appear. I don't change any of the settings. Simply hit OKAY. (You will see a rough image appear in the same box in the preview window.)
Now you will see an image that has a smaller, closer box around it. That is the one we want. Click on it and move it aside. (It will be on top of the original image). You can now delete the original image which was underneath.
Next, we will export the file as a .png. To do so, click on file and choose Export PNG image.
Another box will appear. Choose a name and location for this image by choosing Export As. Then click on Export
.
We are now done with Inkscape.
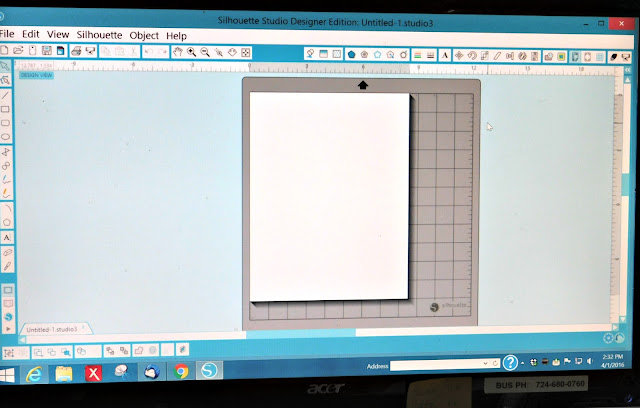
Open your studio software if you haven't already.

Open the .png file you just created.
It will appear rather small on your work space. That is okay.
Now you can easily size it to the size you want by either dragging a corner or using the scale button.
To do a white border around the image you can hit the trace button to open the trace window. Select the area to trace.
Then you will make the grey box cover the area you want traced. You will see your image in yellow.
Turn off High Pass Filter and move the Threshold to the right until there are no black lines showing. Next you will select Trace Outer Edge.
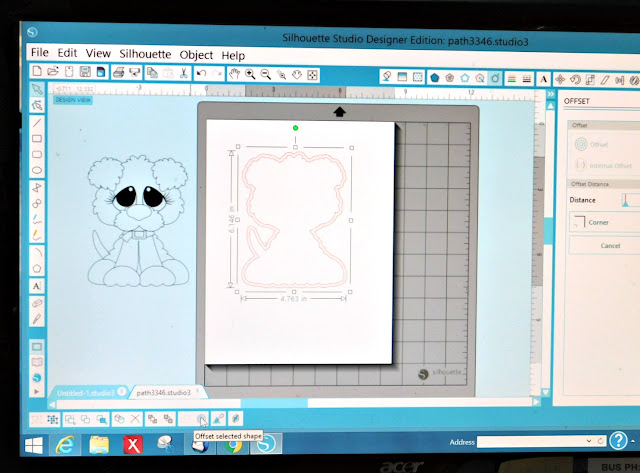
This will create a red line around both the image and the square that came with the image. ( I have moved the original image aside in the photo below). Select the square and delete it.
Next hit the offset button and determine the width of the white area you want around your design. You should have two outlines showing on your workspace, click on the inner outline and delete it. Now you will be left with just the offset.

Replace the digital image inside the offset and group. Next you will want to make sure your paper is the proper size for your printer. Add your registration marks. I usually try to get as many as I can on the page so that I will have extras in case I need them. Now you can proceed to do a print and cut.
If you do not know how to do a print and cut, check out the silhouette school blog and search print and cut.
I hope this little tutorial will help you if you ever come across digi stamps that are like this. It took me quite a while to figure out how to do this, but hopefully I can save you some time and aggravation.
Digi Box Designs has some adorable diti stamps that are actually on sale now at %50 off! So get yours while you can!
Again, thanks for stopping by!
See you again soon!
Jeanne


No comments:
Post a Comment
I would love to hear any comments of suggestions you may have regarding this blog. Thank you so much and have a great day!